How to Make the Snow Saw from Hell!
OK, its not really the snow saw from Hell, but its a good functional snow saw, better than the steel ones you can buy. I taught winter camping at BSU for 14 years, and each year I would make snow saws for the students, about 12 each year. I made very simple ones, but it doesn't take much of a saw to cut snow blocks.

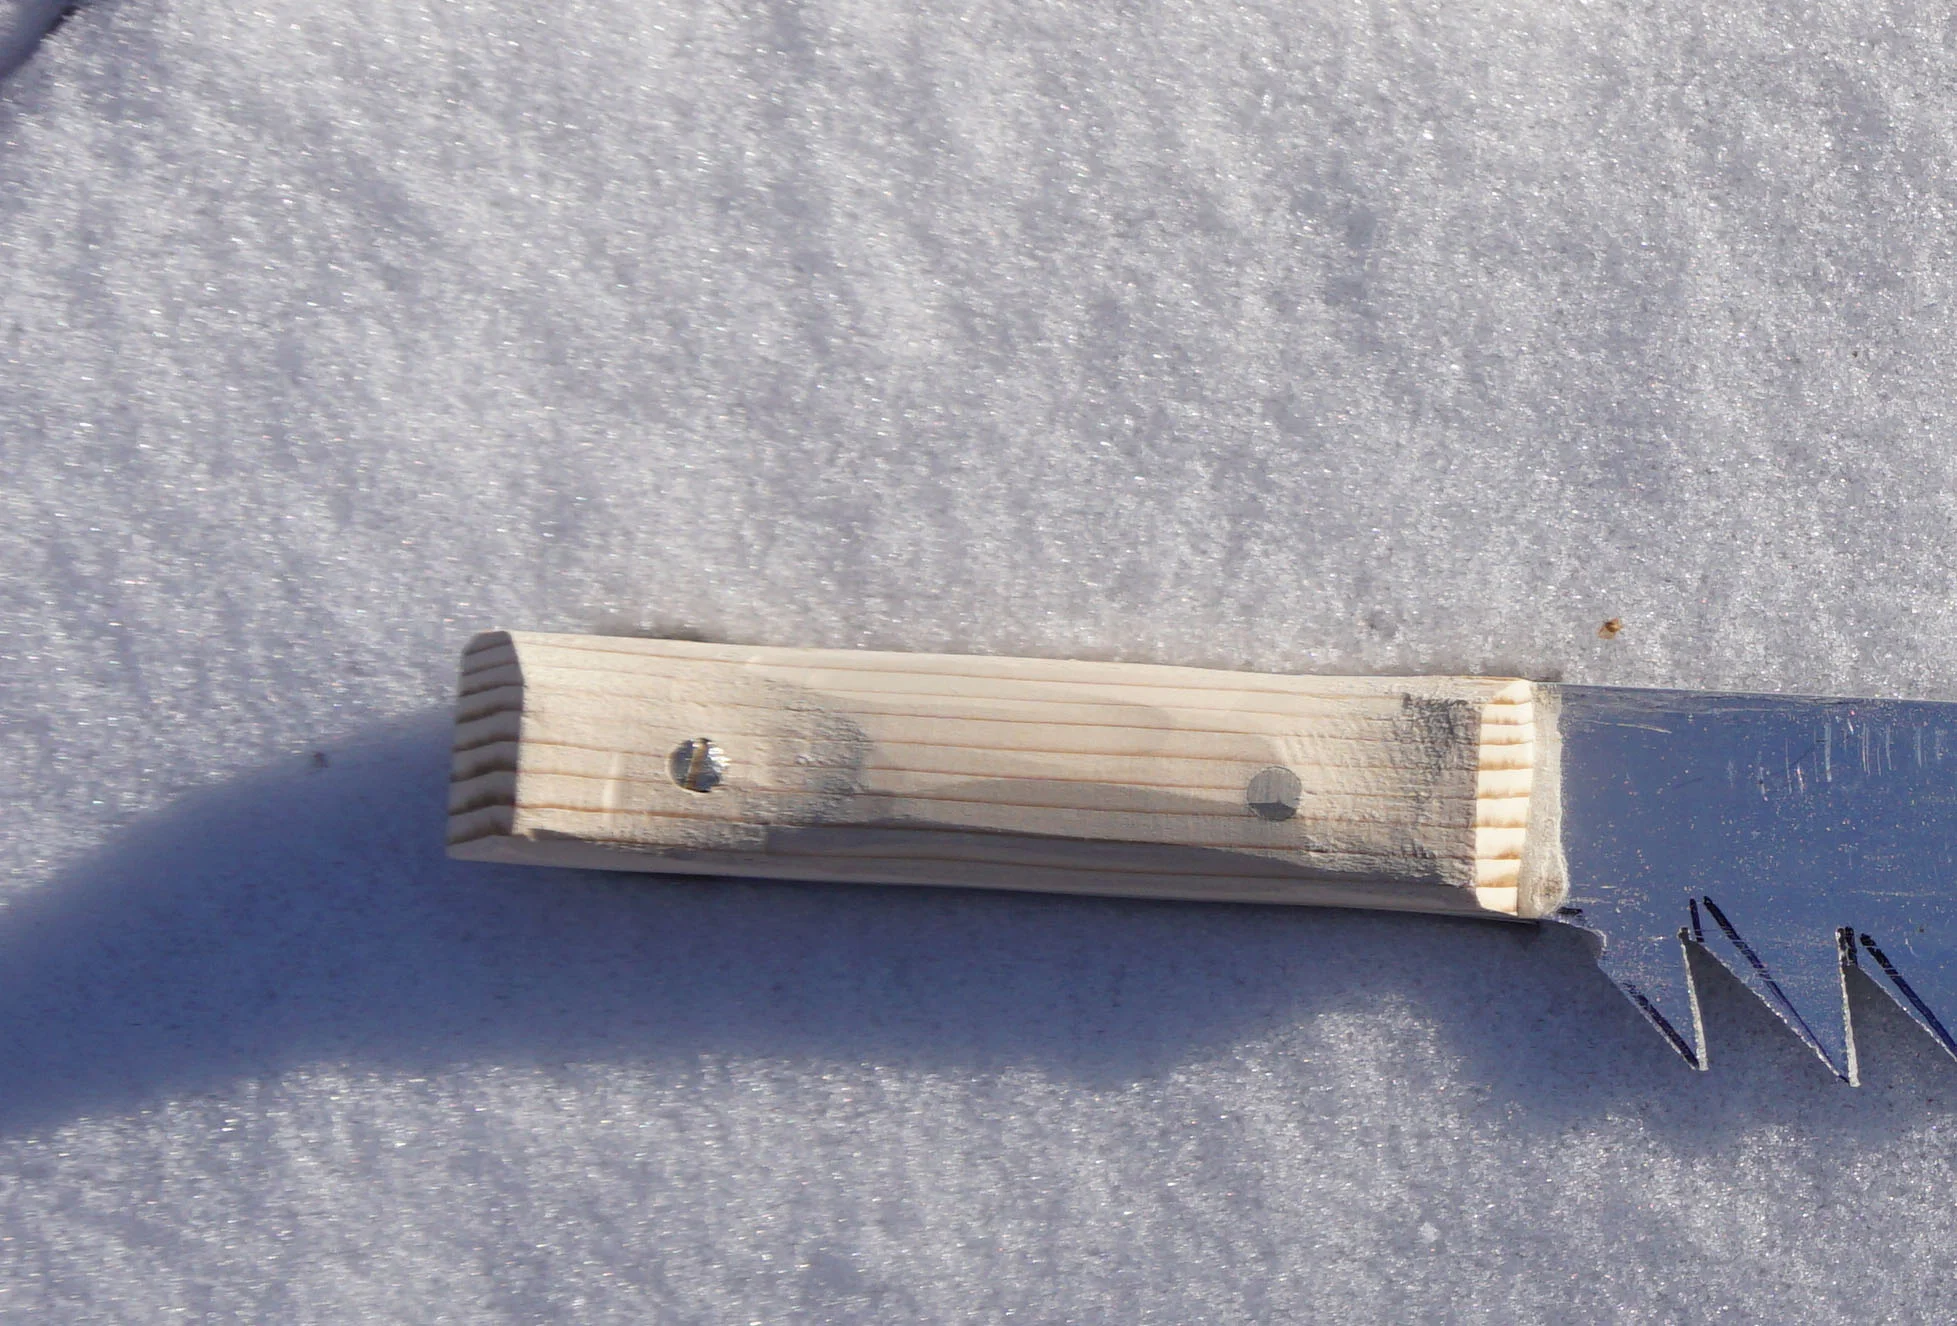
You start with a piece of aluminum 2" x 28" x 1/8" thick. You want it long so you can cut big blocks of snow when making a snow trench, a sitting bench to cook on, or a snow testing pit for checking for avalanche danger. First, you mark the general outline of the teeth. They need to be aggressive, but the exact shape is not so important. The tooth pattern I like is about 1" deep, and spaced 5/8" apart. I leave about 5.5 inches for the handle.

You can use many different ways to make the teeth, but I used a simple hack saw and a vise to hold it with. I put blocky softwood on the handle, drilled holes, epoxied it in place using clamps and Corby bolts.

Lastly, I used a rasp to shape the handle to a comportable shape. I used to do about 5 saws in two hours, but this one took a lot of handle shaping, so it took maybe 4 hours.