Most Recent


Chicken Alfredo Pasta, by RightOnTrek


Trips


Gear


Backpacks In Idaho


Hikes In Spain


Skills


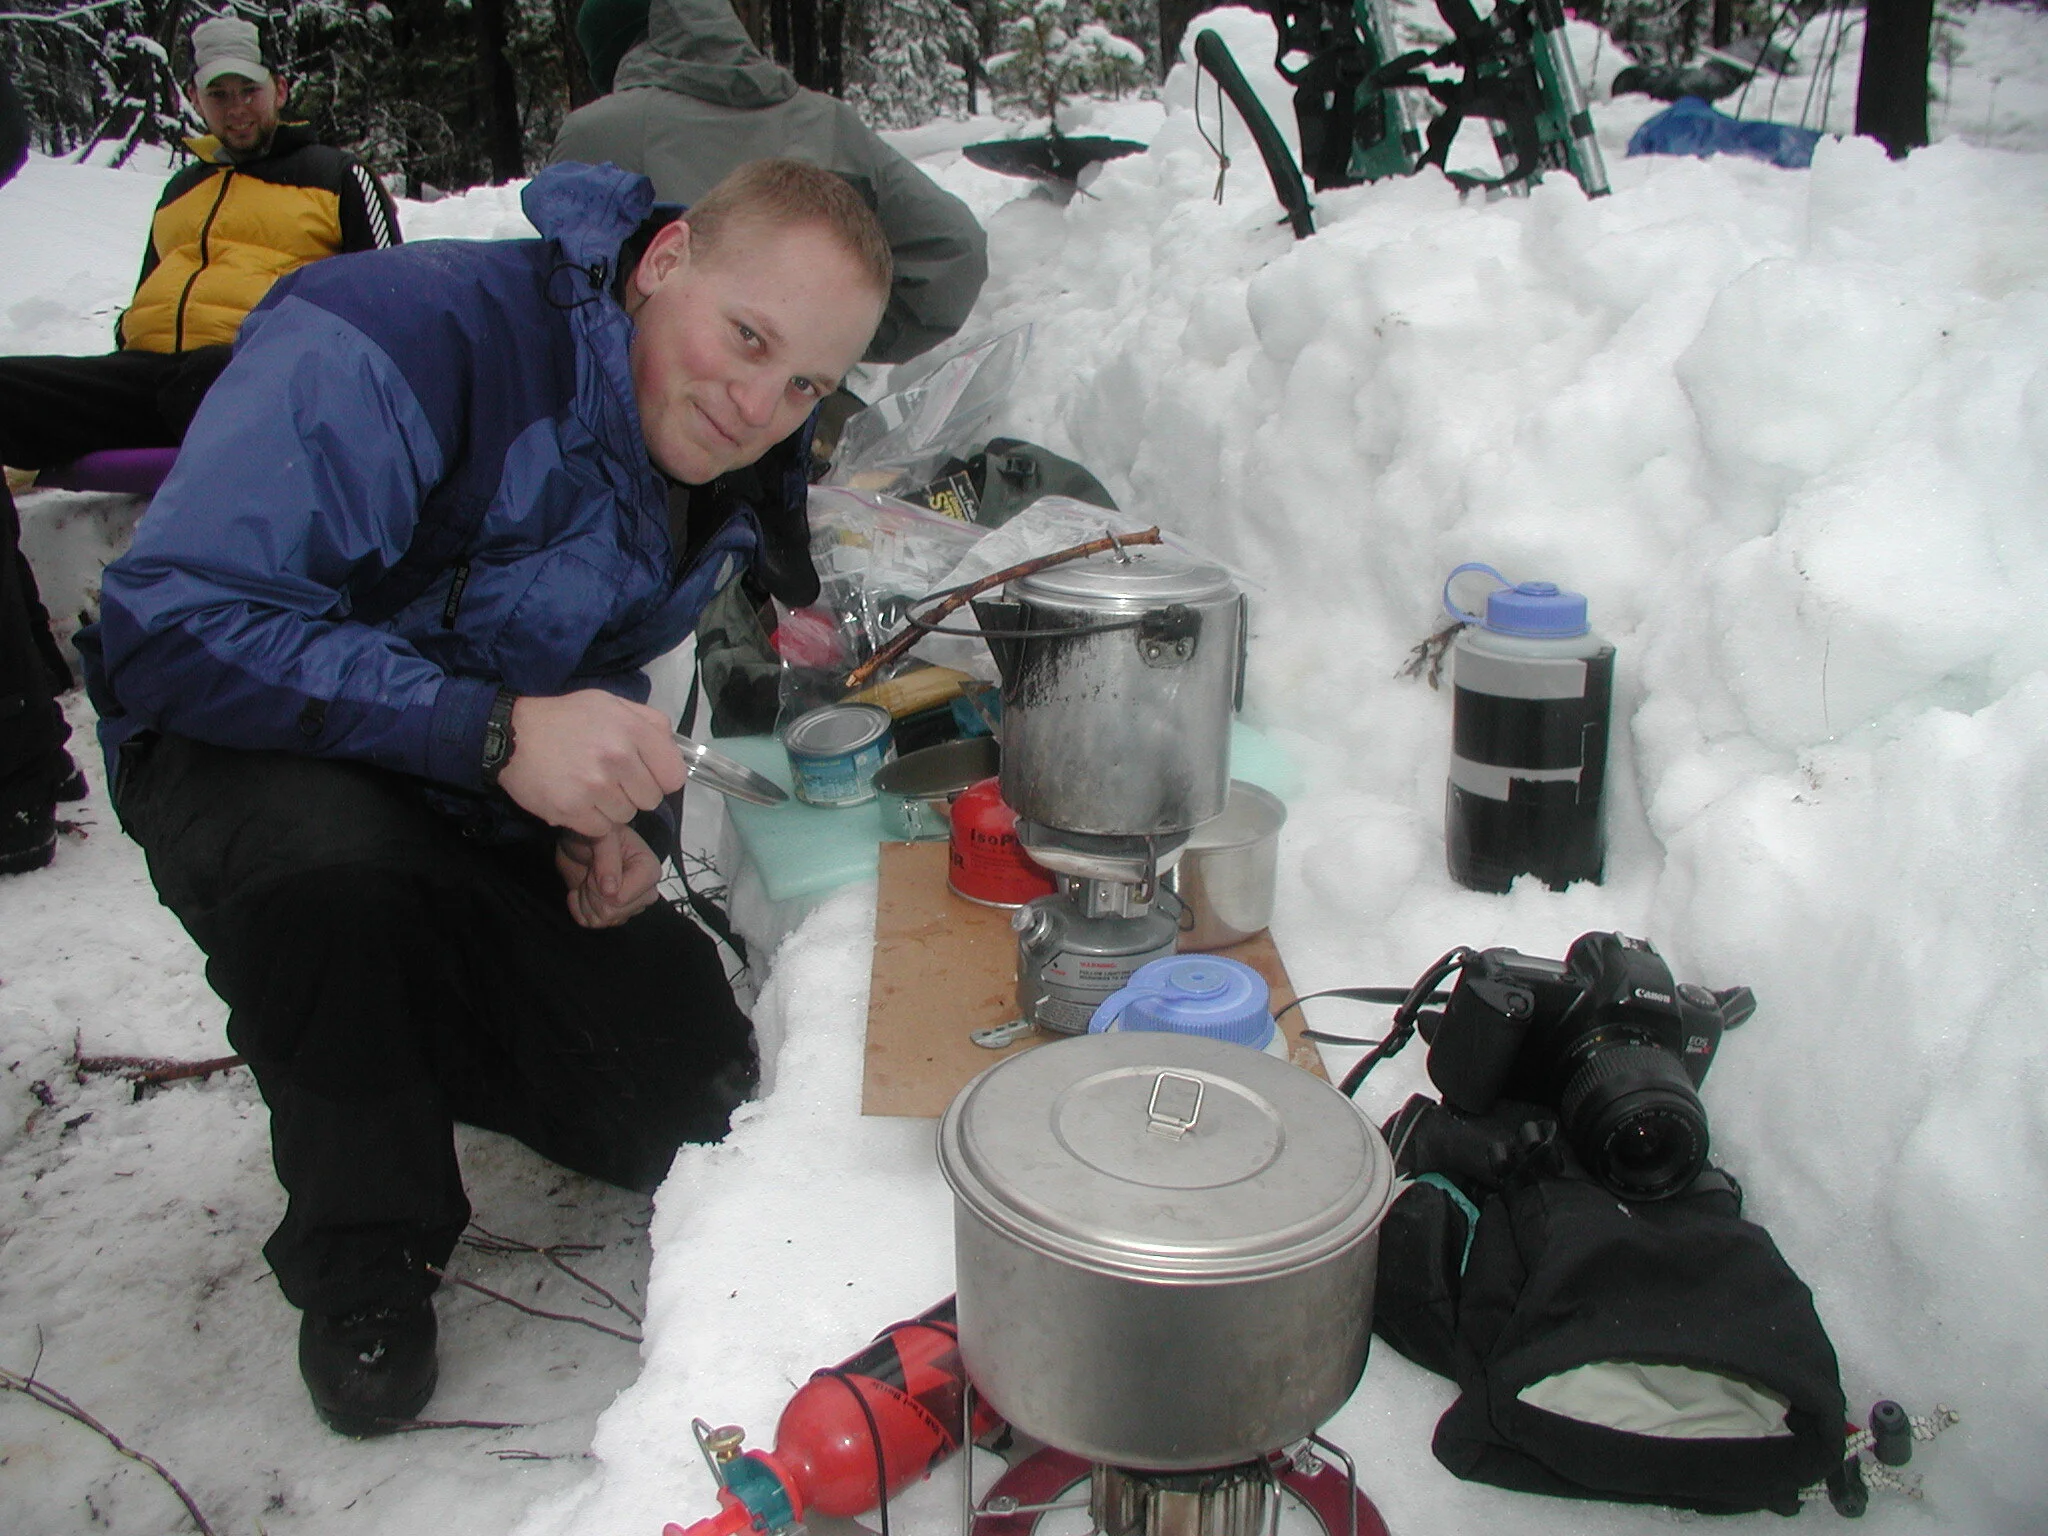


Cooking & Recipes


Knives


Videos